When you get your printer the projector bracket will be held down by cable ties. Cut the cable ties so that the projector can be moved up and down.
For users without automated projector movement
The projector rests on 2 rail brakes, 1 left and 1 right. I normally use the left one as my higher position and the right one as my lower position. The higher the projector is the bigger the projection area and the lower the resolution. Lower projector location will give you a smaller projection area, but a higher resolution print.

Changing the projection area is very easy. Move the projector up or down, you only need 2 fingers.

When the projector is at the correct height move the rail brake into position to lock the projector in place


You can use a 3mm allen wrench to losen the bolts in the rail brakes. Move the rail towards the projector bracket and lock it in place. I normally only use the 1 bolt, bt for safety you can use all 4 bolts.
You will need to use the projector to focus the image. After the image is in focus and the projection area has been set then you need to set it in Gizmetor.
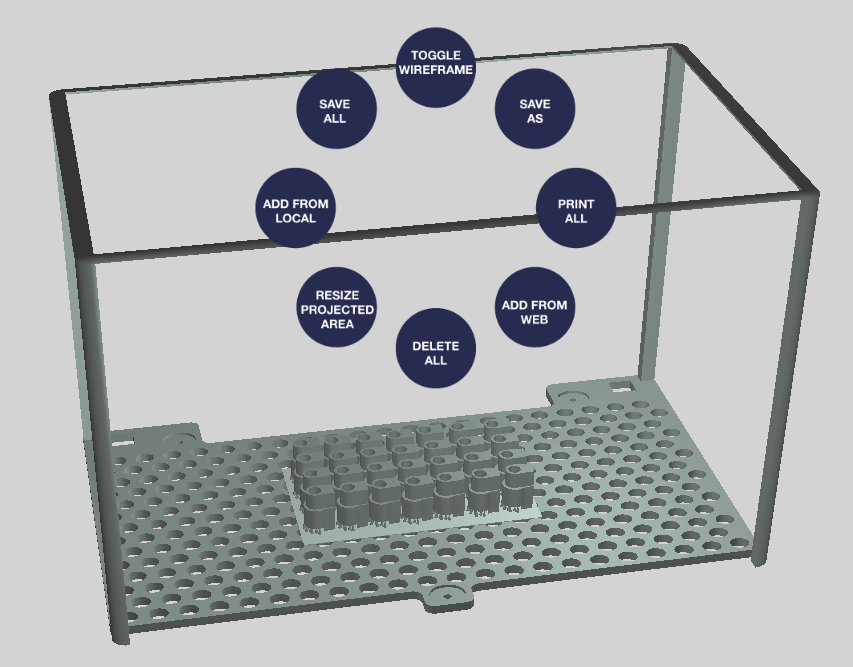
Right click in the 3D layout and click on the "Resize projected area". Make sure the projection area in Gizmetor is the same as what the projector is producing.

When the projection area is the same size in Gizmetor as in the real world click the "Recalibrate" button on the "Projection Area Scale" window.

The "Image Calibration" tab will show. Use this tab to display a calibration square in red. Change the scale up and down until the square is 30mm x 30mm.

