Gizmetor allows the user to change the XY size of the slices. This short tutorial will explain how to do that.
When ever you calibrate remember to fill the main vat until the resin overflows into the overflow compartment and move the build plate into the resin at least 10mm. After you have filled the vat let it sit for 2 minutes so that it will settle. We always always always calibrate on top of the resin, not on top of the build plate. This is extremely important to remember, especially when starting to calibrate the super speed add-on.
Tip: We have found it easier to get a perfect calibration by floating a piece of tinfoil on top of the resin and displaying on top of that rather than the resin directly.
First step is to determine the projection size that you need.
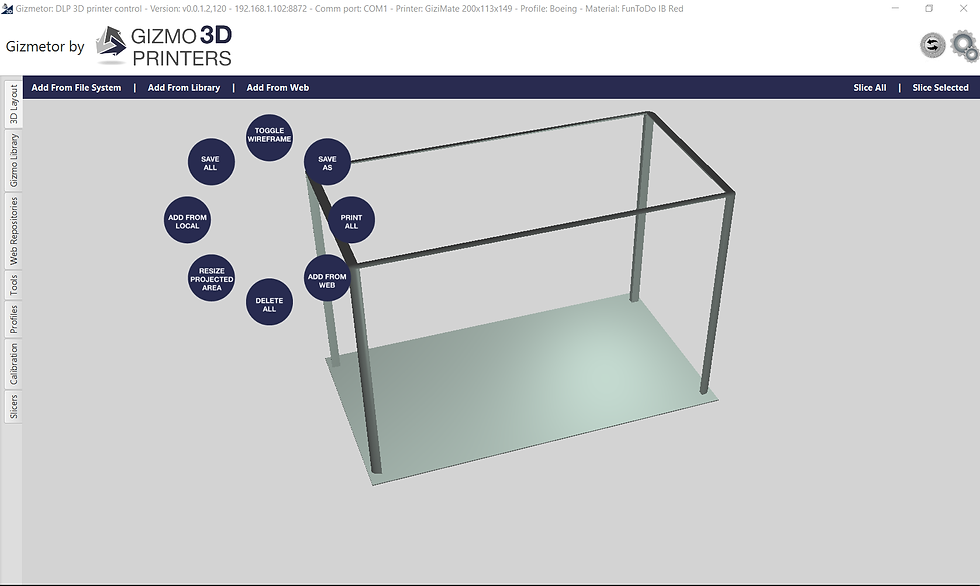
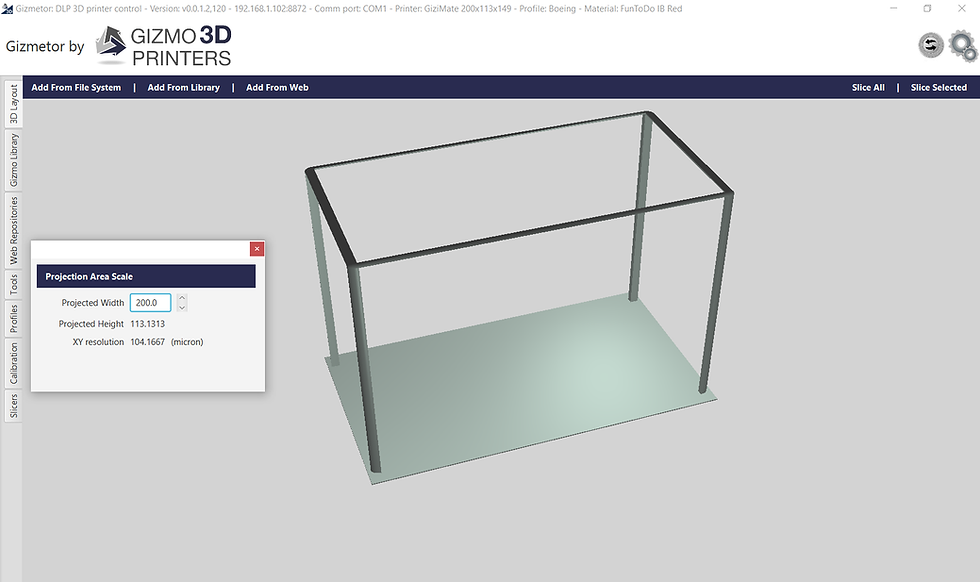
Open Gizmetor on the PC that is connected to the printer and select the printer you want to use. When the 3D layout opens up, right click in the 3D world. The 3D layout menu will appear. Click on resize projected area.

Change the projection area so that it is the same size as the projection area on the printer. If you have the automated projector movement add-on installed then the projector assembly should automatically move to the correct location to create the required projection area (to be coded).

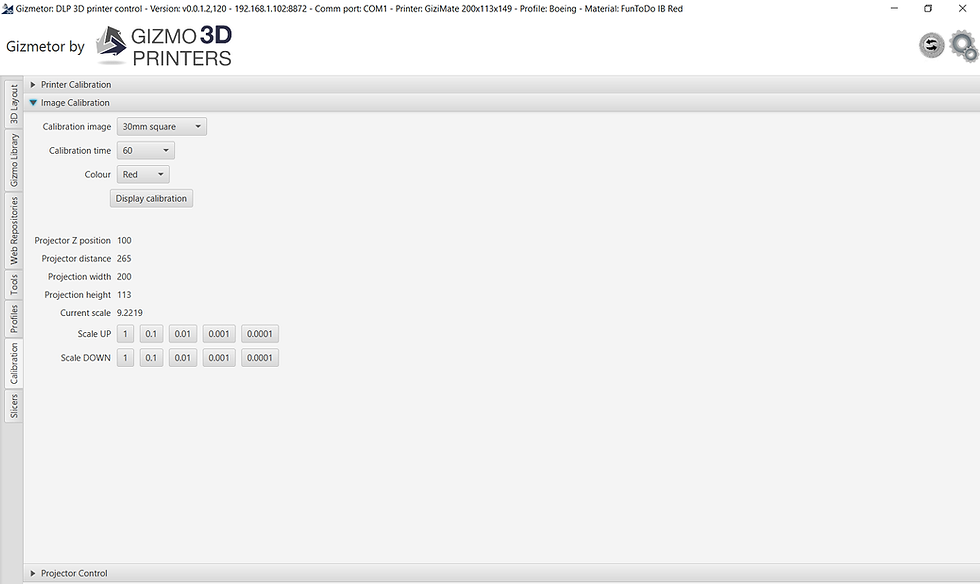
Now click on the calibration tab on the left side and then click on Image Calibration.

Display the 30mm square in red and measure the square. The square should display through the projector on top of the resin. Measure the square with calipers. It might be a little difficult, but this is just to get you close to the correct value. If the square is too large then click one of the Scale DOWN buttons. If the square is too small then click on one of the Scale UP buttons. The scale value is a calculation using minimum and maximum values so if you press 0.01 and the value doesn't change by that amount it is because it is a calculated value.
When you believe the square is about right you can display it in white for a short bit of time, try 5 to 10 seconds. The square will be created inside the resin. If you are careful you can pick it up without breaking it. Measure the square that was created.
If you believe it is perfectly 30mm x 30mm then remember the scale value. If you use a different PC to slice on, then open Gizmetor on that PC. Change the projection area. Go to the image calibration tab and change the scale to the same scale as the Gizmetor on the printer PC. Now when ever you slice the slices will be the correct size for that printer. This calibration feature will be copied to GiziPrint in the future.
While performing tests we found that in many cases a scale value of 0.1973 seems to equal around 0.5mm on the object. So if your object is 0.5mm too big then reduce the scale by that value and print again.
Bug: Currently when you have the print settings set to hollow the image calibration will not work. Print settings need to be solid for image calibration to work.
Bug: When you choose to hollow a print, the hollow image is slightly larger than the solid image.
